前段时间抽空做了vxWorks7.0下的基于zynq的boot程序,在此做个总结。
vxworks7.0支持三种不同的boot程序:第一种uboot,第二种vxworks6.9.x以上的bootloader,第三种bootapp,关于uboot的创建方法在前面的博文中已经提到过,bootloader6.9的话,因为我不在使用6.9的版本,所以在此也就不做介绍,今天我们来谈一谈vxworks7.0下bootapp的创建方法。
首先,创建VSB工程,在创建VSB工程时一定要选择up类型创建,具体的创建方法,做过vxworks7.0的都会,在这里就不多做介绍了。
其次创建VIP工程,使用-profile PROFILE_BOOTAPP属性创建VIP工程,在VIP工程中添加组件INCLUDE_STANDALONE_DTB,使用嵌入式的vxWorks,让设备树编译到vxWorks中去。切记不能包含组件INCLUDE_PATCH_STANDALONE_DTB
接着增加boot参数的存储配置,如果有独立的基于IO系统的eeprom专门用于存储boot参数,包含组件INCLUDE_BOOTAPP_NVRAM_SUPPORT,设置其属性值:
prj vip parameter set BOOTAPP_GENERIC_NVRAM_NAME \"/eeprom/0\"
prj vip parameter set BOOTAPP_GENERIC_NVRAM_OFFSET 0x0
prj vip parameter set BOOTAPP_GENERIC_NVRAM_SIZE 0x100
其中BOOTAPP_GENERIC_NVRAM_NAME必须是你devs看到的IO系统的flash设备名称。其他参数是flash设备的大小和偏移地址。
在这里我使用的是S25FL265S的QSPIflash,总大小为0x2000000,其中前0x800000为boot和设备的一些配置参数,其余的用于挂接文件系统,存放系统的启动镜像文件,所以在0x800000-0x10000位置存储boot参数,用于设备启动时参数的修改,修改bsp文件
void bootAppSaveBootLine
    (
    char *  buf,    /* source buffer to save */
    int     len     /* length of buffer to save */
    )
    {
#ifdef INCLUDE_BOOTAPP_NVRAM_SUPPORT
    if (bootAppNvSet == 0 || ERROR == bootAppNvSet (buf, len, 0))
        {
        bootAppPrintf("\nNOTE: Saving Bootline to NVRAM failed\n" ,0,0,0,0,0,0);
        }
#else
    if (sysNvRamSet (buf, len, 0) == OK)
       {
       	return;
       }
	bootAppPrintf("\nNOTE: Bootline obtained from DTB and needn't be written"
                  " back\n",0,0,0,0,0,0);
#endif /* INCLUDE_BOOTAPP_NVRAM_SUPPORT */
    }
增加boot启动时的参数获取函数sysNvRamSet(),同时在bootapp工程中增函数
STATUS sysNvRamSet
    (
    char *  string,         /* string to be copied into non-volatile RAM */
    int     strLen,         /* maximum number of bytes to copy           */
    int     offset          /* byte offset into non-volatile RAM         */
    )
{
	STATUS  retVal = ERROR;
	UINT8 * ppbuf[1];
	int     offsetRel = offset + NV_BOOT_OFFSET;
	VXB_DEV_ID pFlashId;
	SPI_FLASH_DEV *     pDrvCtrl    = NULL;

    bootAppPrintf ("enter to nvRam Flashwrite\n", 0, 0, 0, 0, 0, 0);
    if ((offsetRel < 0) || (strLen < 0) ||
        ((offsetRel + strLen) > NV_RAM_SIZE))
    {
        NVRAM_DBG_MSG ("[0x%x,0x%x] is out of range(0x%x)\n",
                       offsetRel, offsetRel + strLen - 1, NV_RAM_SIZE,
                       0, 0, 0);
        return (ERROR);
    }

    pFlashId = vxbDevAcquireByName(NV_RAM_FLASH_NAME,NV_RAM_FLASH_UNIT);
    if(pFlashId == NULL)
    {
    	NVRAM_DBG_MSG ("not find flash dev\n",0, 0 , 0, 0, 0, 0);
    	return (ERROR);
    }
    pDrvCtrl = vxbDevSoftcGet(pFlashId);
    if(!pDrvCtrl)
    {
    	NVRAM_DBG_MSG ("not find flash dev driver\n",0, 0 , 0, 0, 0, 0);
    	return (ERROR);
    }
    //从FLASH中读出参数,进行比较,如果没有变化,直接返回成功
    ppbuf[0] = (UINT8 *) pBlkBuf;
    NVRAM_DBG_MSG ("compare boot param\n",0, 0 , 0, 0, 0, 0);
	if((getFlashReadFun()(pDrvCtrl,offsetRel,strLen,ppbuf[0]) == OK )&&
			(bcmp ((char *) (pBlkBuf), string, strLen) == 0))
		goto nvRamSetOk;

	NVRAM_DBG_MSG ("start erase boot sector[%d],secsum[%d]\n",offsetRel, 1 , 0, 0, 0, 0);
	if(getFlashSectorEraseFun()(pDrvCtrl,offsetRel,1)!= OK)
	{
		NVRAM_DBG_MSG ("flash erase sector[%08x]failed\n",offsetRel, 0 , 0, 0, 0, 0);
		return ERROR;
	}

    /* copy data to buffer and write to Flash */

   bcopy (string, (char *) (pBlkBuf), strLen);
   NVRAM_DBG_MSG ("start write boot param[%s]\n",ppbuf[0], 0 , 0, 0, 0, 0);
   if(getFlashWriteFun()(pDrvCtrl,offsetRel,strLen,ppbuf[0]) != OK)
   {
	   NVRAM_DBG_MSG ("flash erase sector[%08x] context[%s]..failed\n",offsetRel, ppbuf , 0, 0, 0, 0);
	  return ERROR;
   }

nvRamSetOk:
    retVal = OK;

    return (retVal);
}
此函数用于设置boot参数到flash位置0x800000-0x10000除,boot参数大小为255,读取boot参数方法也一样,修改下列函数
void bootAppLoadBootLine (void)
    {
#ifdef INCLUDE_BOOTAPP_NVRAM_SUPPORT
    if (bootAppNvGet &&
        (bootAppNvGet ((char *)BOOT_LINE_ADRS, BOOT_LINE_SIZE, 0) == OK) &&
        (*((char *)(BOOT_LINE_ADRS)) != EOS) &&
        (*((char *)(BOOT_LINE_ADRS)) != (char) -1))
        {
        return;
        }
    bootAppPrintf("\nNOTE: load Bootline from NVRAM failed\n" ,0,0,0,0,0,0);
#endif /* INCLUDE_BOOTAPP_NVRAM_SUPPORT */

    if (sysNvRamGet ((char *)BOOT_LINE_ADRS, BOOT_LINE_SIZE, 0) == OK)
    {
    	return;
    }
    if (vxFdtBootargsGet ((char *)BOOT_LINE_ADRS, BOOT_LINE_SIZE) != OK)
        {
#ifndef _WRS_ARCH_IS_SIMULATOR
        strncpy ((char *)BOOT_LINE_ADRS, DEFAULT_BOOT_LINE, BOOT_LINE_SIZE);
#endif /* _WRS_ARCH_IS_SIMULATOR */
        }
    }
在bootapp中增加函数sysNvRamGet()实现
STATUS sysNvRamGet
    (
    char *  string,         /* where to copy non-volatile RAM    */
    int     strLen,         /* maximum number of bytes to copy   */
    int     offset          /* byte offset into non-volatile RAM */
    )
{
	STATUS  retVal = ERROR;
	UINT8 * ppbuf[1];
	int     offsetRel = offset + NV_BOOT_OFFSET;
	VXB_DEV_ID pFlashId;
	SPI_FLASH_DEV *     pDrvCtrl    = NULL;

	bootAppPrintf ("enter to nvRam Flashread\n", 0, 0, 0, 0, 0, 0);

	if ((offsetRel < 0) || (strLen < 0) || ((offsetRel + strLen) > NV_RAM_SIZE))
	{
		NVRAM_DBG_MSG ("[0x%x,0x%x] is out of range(0x%x)\n",
						offsetRel, offsetRel + strLen - 1, NV_RAM_SIZE,
						0, 0, 0);
		return (ERROR);
	}

	pFlashId = vxbDevAcquireByName(NV_RAM_FLASH_NAME,NV_RAM_FLASH_UNIT);
	if(pFlashId == NULL)
	{
		NVRAM_DBG_MSG ("not find flash dev\n",0, 0 , 0, 0, 0, 0);
		return (ERROR);
	}
	pDrvCtrl = vxbDevSoftcGet(pFlashId);
	if(!pDrvCtrl)
	{
		NVRAM_DBG_MSG ("not find flash dev driver\n",0, 0 , 0, 0, 0, 0);
		return (ERROR);
	}

	if (strLen == 0)
	{
		string [strLen] = EOS;
		return OK;
	}

    ppbuf[0] = (UINT8 *) string;

	if(getFlashReadFun()(pDrvCtrl,offsetRel,strLen,ppbuf[0]) == OK)
		retVal = OK;

    return (retVal);
}
接下来修改bootapp的内核配置,增加组件

在内核配置中增加组件
INCLUDE_BOOT_FILESYSTEM,
INCLUDE_TFFS_TL,
INCLUDE_TFFS,
INCLUDE_TL_FTL,
INCLUDE_TFFS_MOUNT,
INCLUDE_MTD_VXBFLASH
修改参数
prj vip parameter setstring VXBFLASH_CFG_STR "$spiflash0#0:0x0,0x2000000,0x800000,rfa0"
在此32Mflash预留8M用作BOOT和一些系统参数,修改完成后编译,生成vxWorks
生成BOOT.bin
1、将上面生成的vxworks拷贝到指定文件夹,并重命名为bootapp.elf
2、启动xilinx的sdk,打开create_boot_image工具
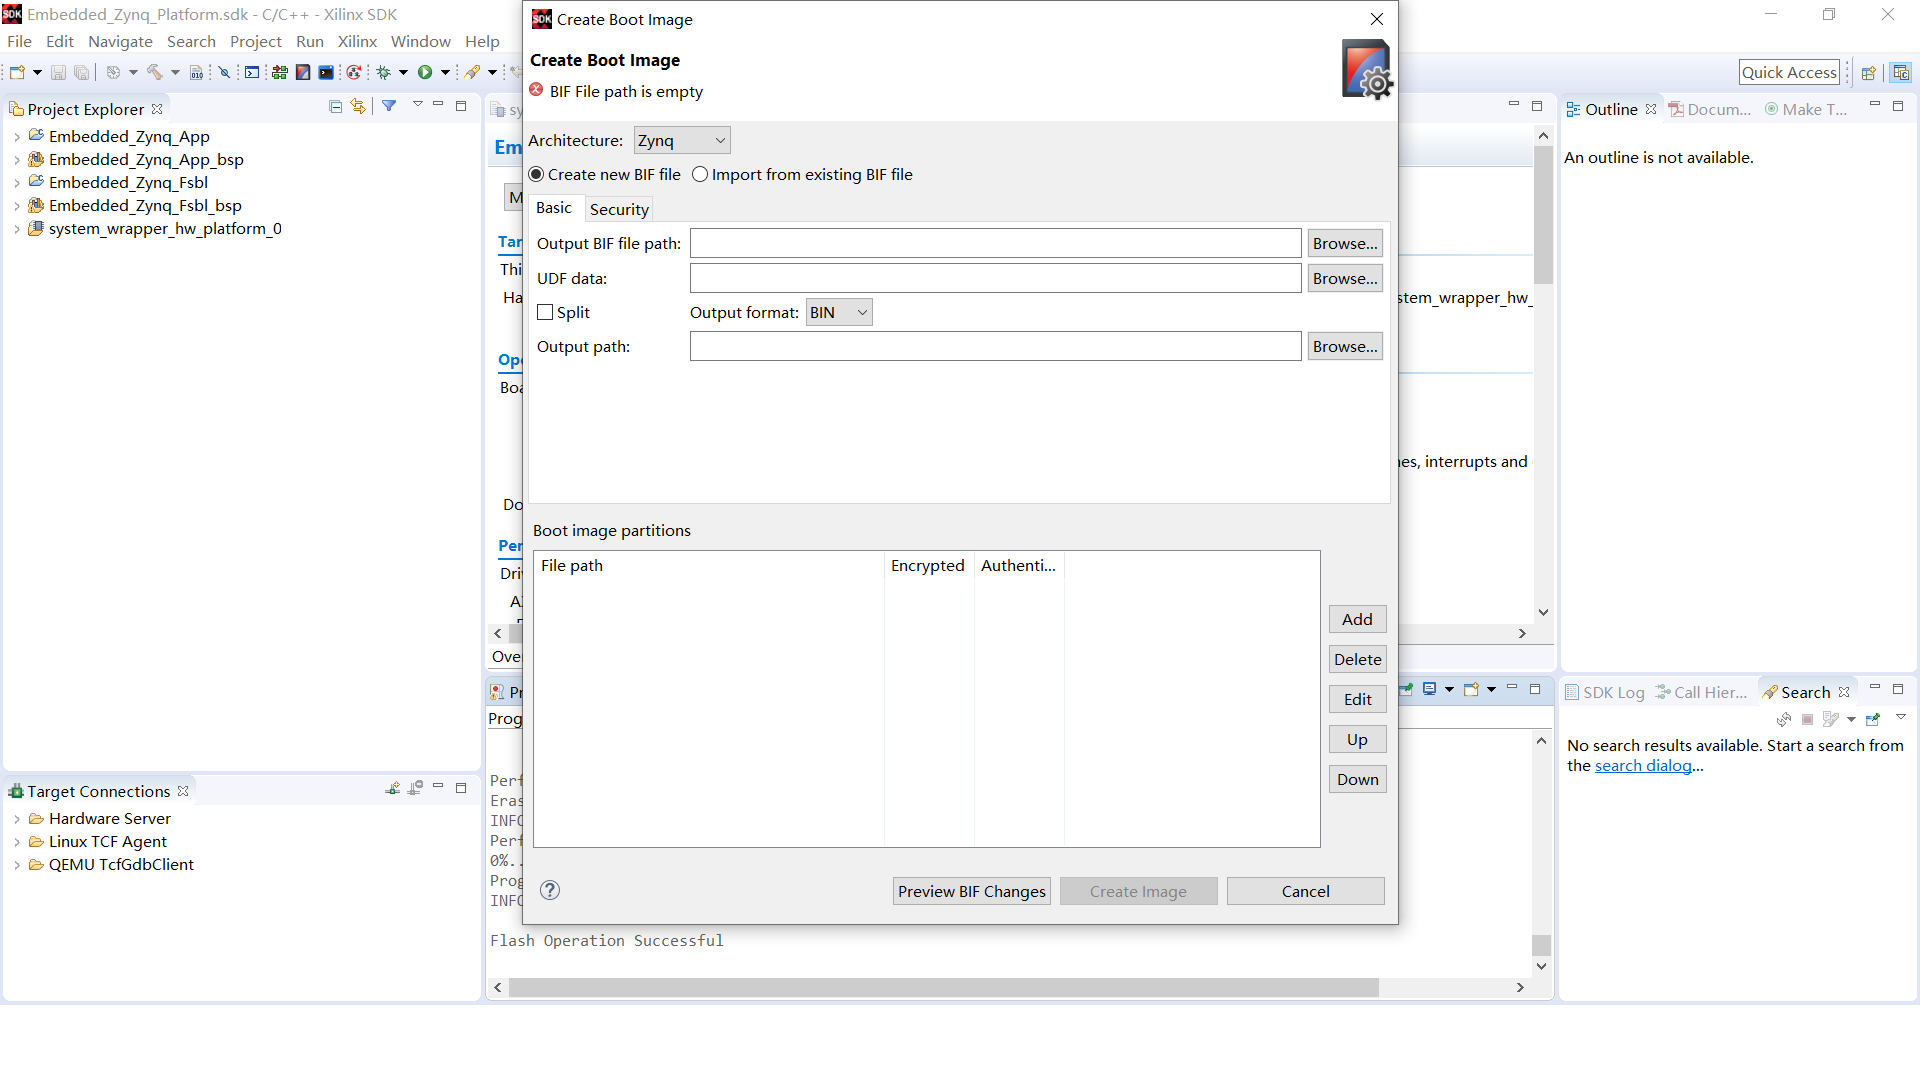
选择输出文件夹,然后点击add,线增加fsbl,然后增加系统bit文件,最后增加bootapp.elf,切记顺序不能出错。
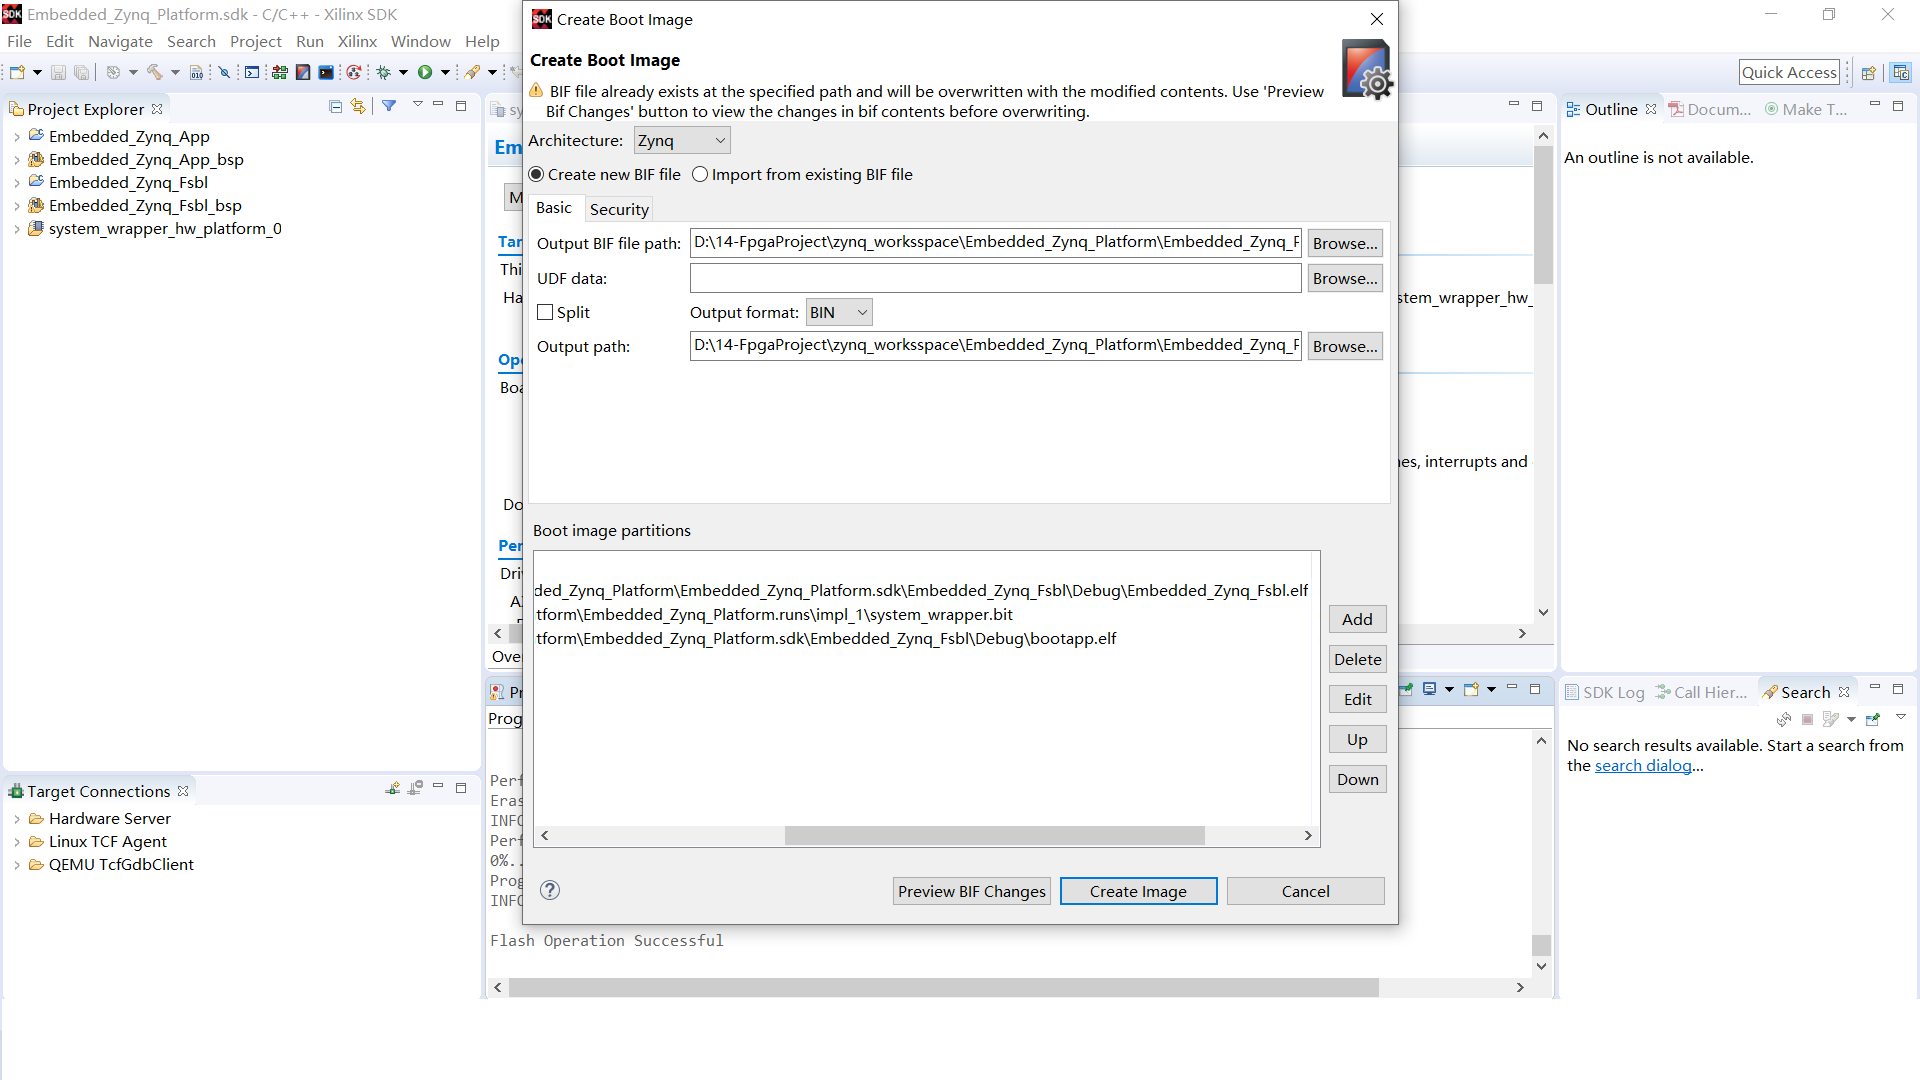
生成BOOT.bin,烧录到flash中,选择从flash启动

至此文件i系统和网络启动正常。
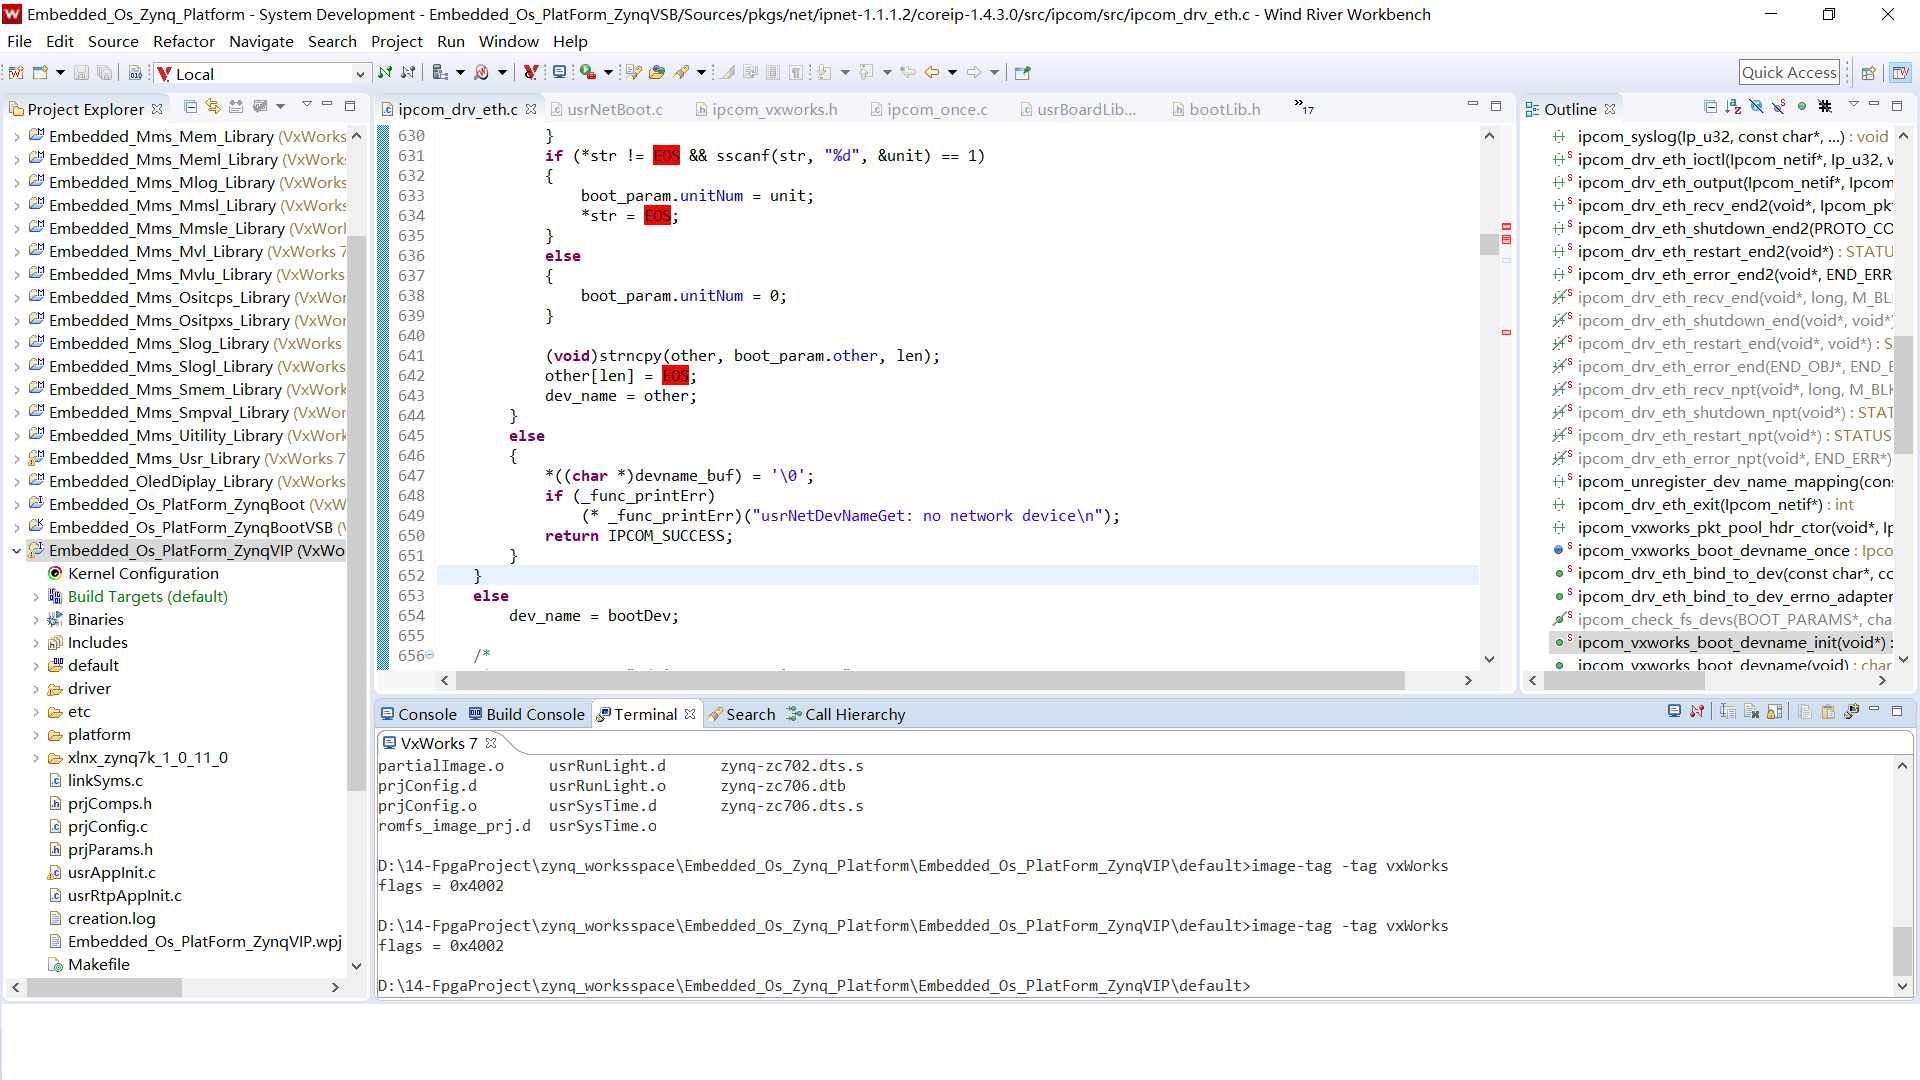
vxWorks7.0系统镜像在启动时,可能从网口加载可以成功,但是从文件系统加载失败,解决办法如下:
打开workbeach4.0,打开工程目录,打开development shell,进入到vxWorks系统镜像目录
输入image-tag tag vxWorks,回车,让vxWorks7.0镜像打上标记,然后传进文件系统启动
启动时可能找不到网口,这时如果启动方式为文件系统启动,boot参数的other选项应该配置为gem0如下所示:
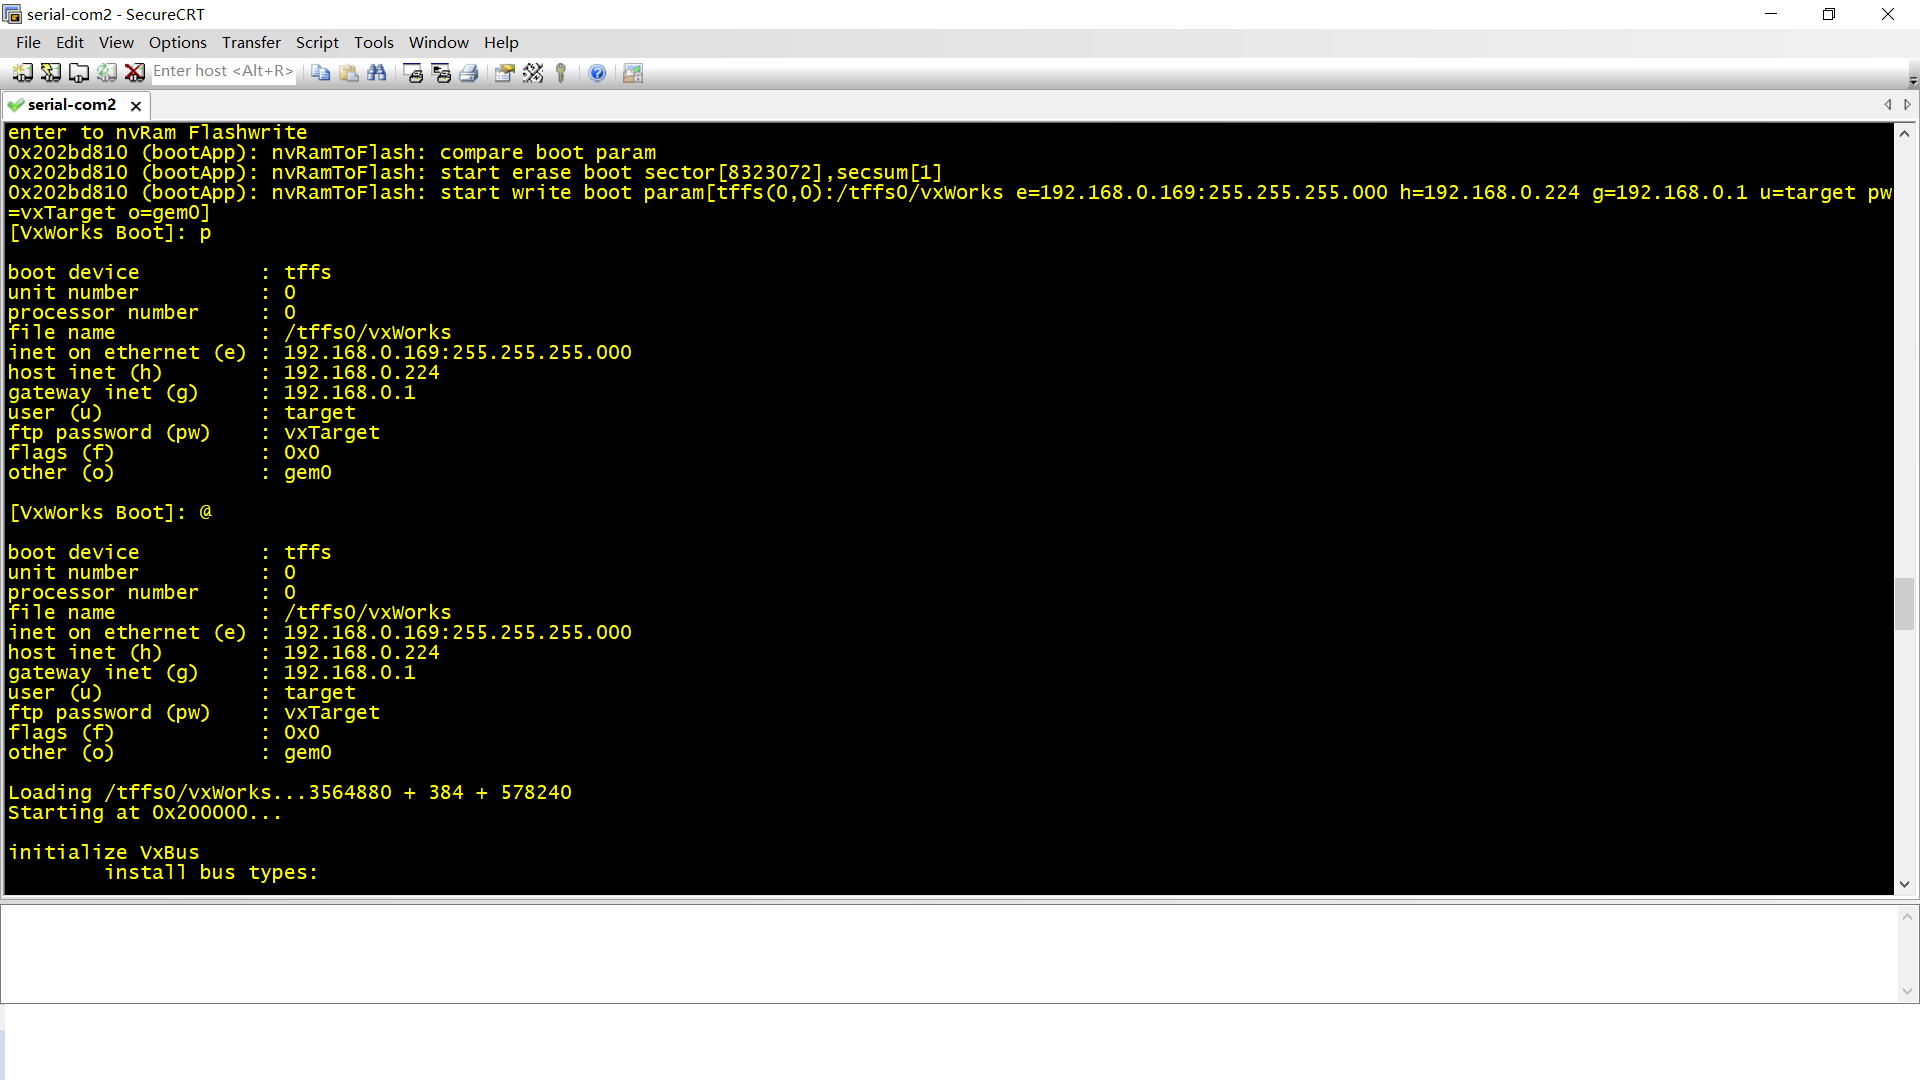
不过因为这种启动方式使用的是嵌入式的设备树,所以系统镜像比较大,这是这种启动方式的唯一缺点,可根据自己的需要选择相应的boot方式。